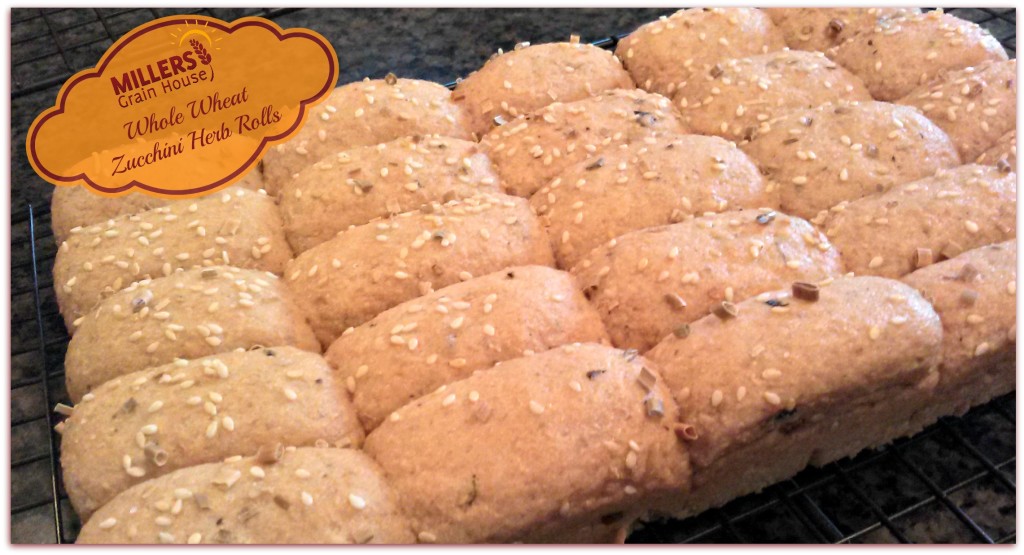
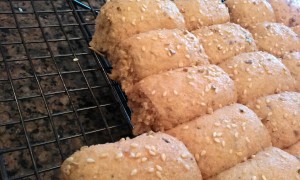
These Whole Wheat Zucchini Herb Rolls can be made Vegetarian or Vegan but don’t let that keep you from serving them with your most hearty (or meaty) meal!
Well, it’s been a while since I’ve blogged a recipe. My sincerest apologies! We’re moving over to OUR NEW WEBSITE and I’m a bit more disheveled than usual. But summer is really upon us and zucchini are usually prolific growers so I had to do something with the ones we had that were about to go bad.
Typical zucchini bread is a sweet, batter bread that is akin to banana bread. My more savory version is meant to be a highlight to a meal rather than a sweet snack. I hope you enJOY!
Ingredients:
- 1/2 Cup warm water (between 100 -114 degrees)
- 2 TBS Honey (Vegan – use Evaporated Cane Juice/Crystals)
- 1 TBS Olive Oil
- 1 1/2 tsp Instant Yeast
- 3/4 Cup Shredded Raw Zucchini
- 2 3/4 Cup Freshly Milled Hard White Wheat Flour
- 1/2 tsp Dried Italian Herbs
- 2 tsp Sesame Seeds (divided – using 1 tsp each)
- 1/2 tsp Sea Salt
- 1/4 tsp Garlic Powder
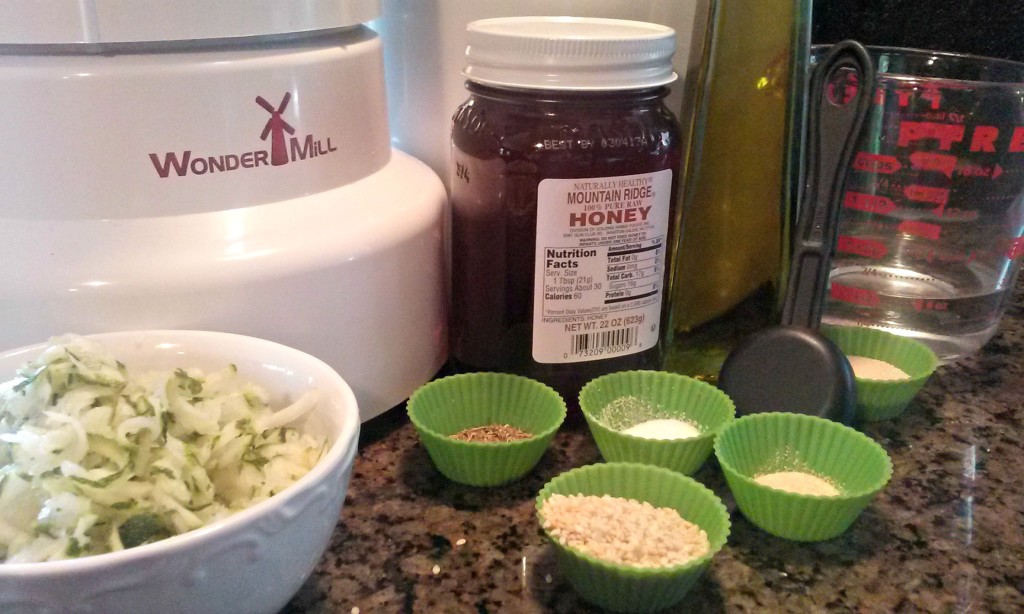
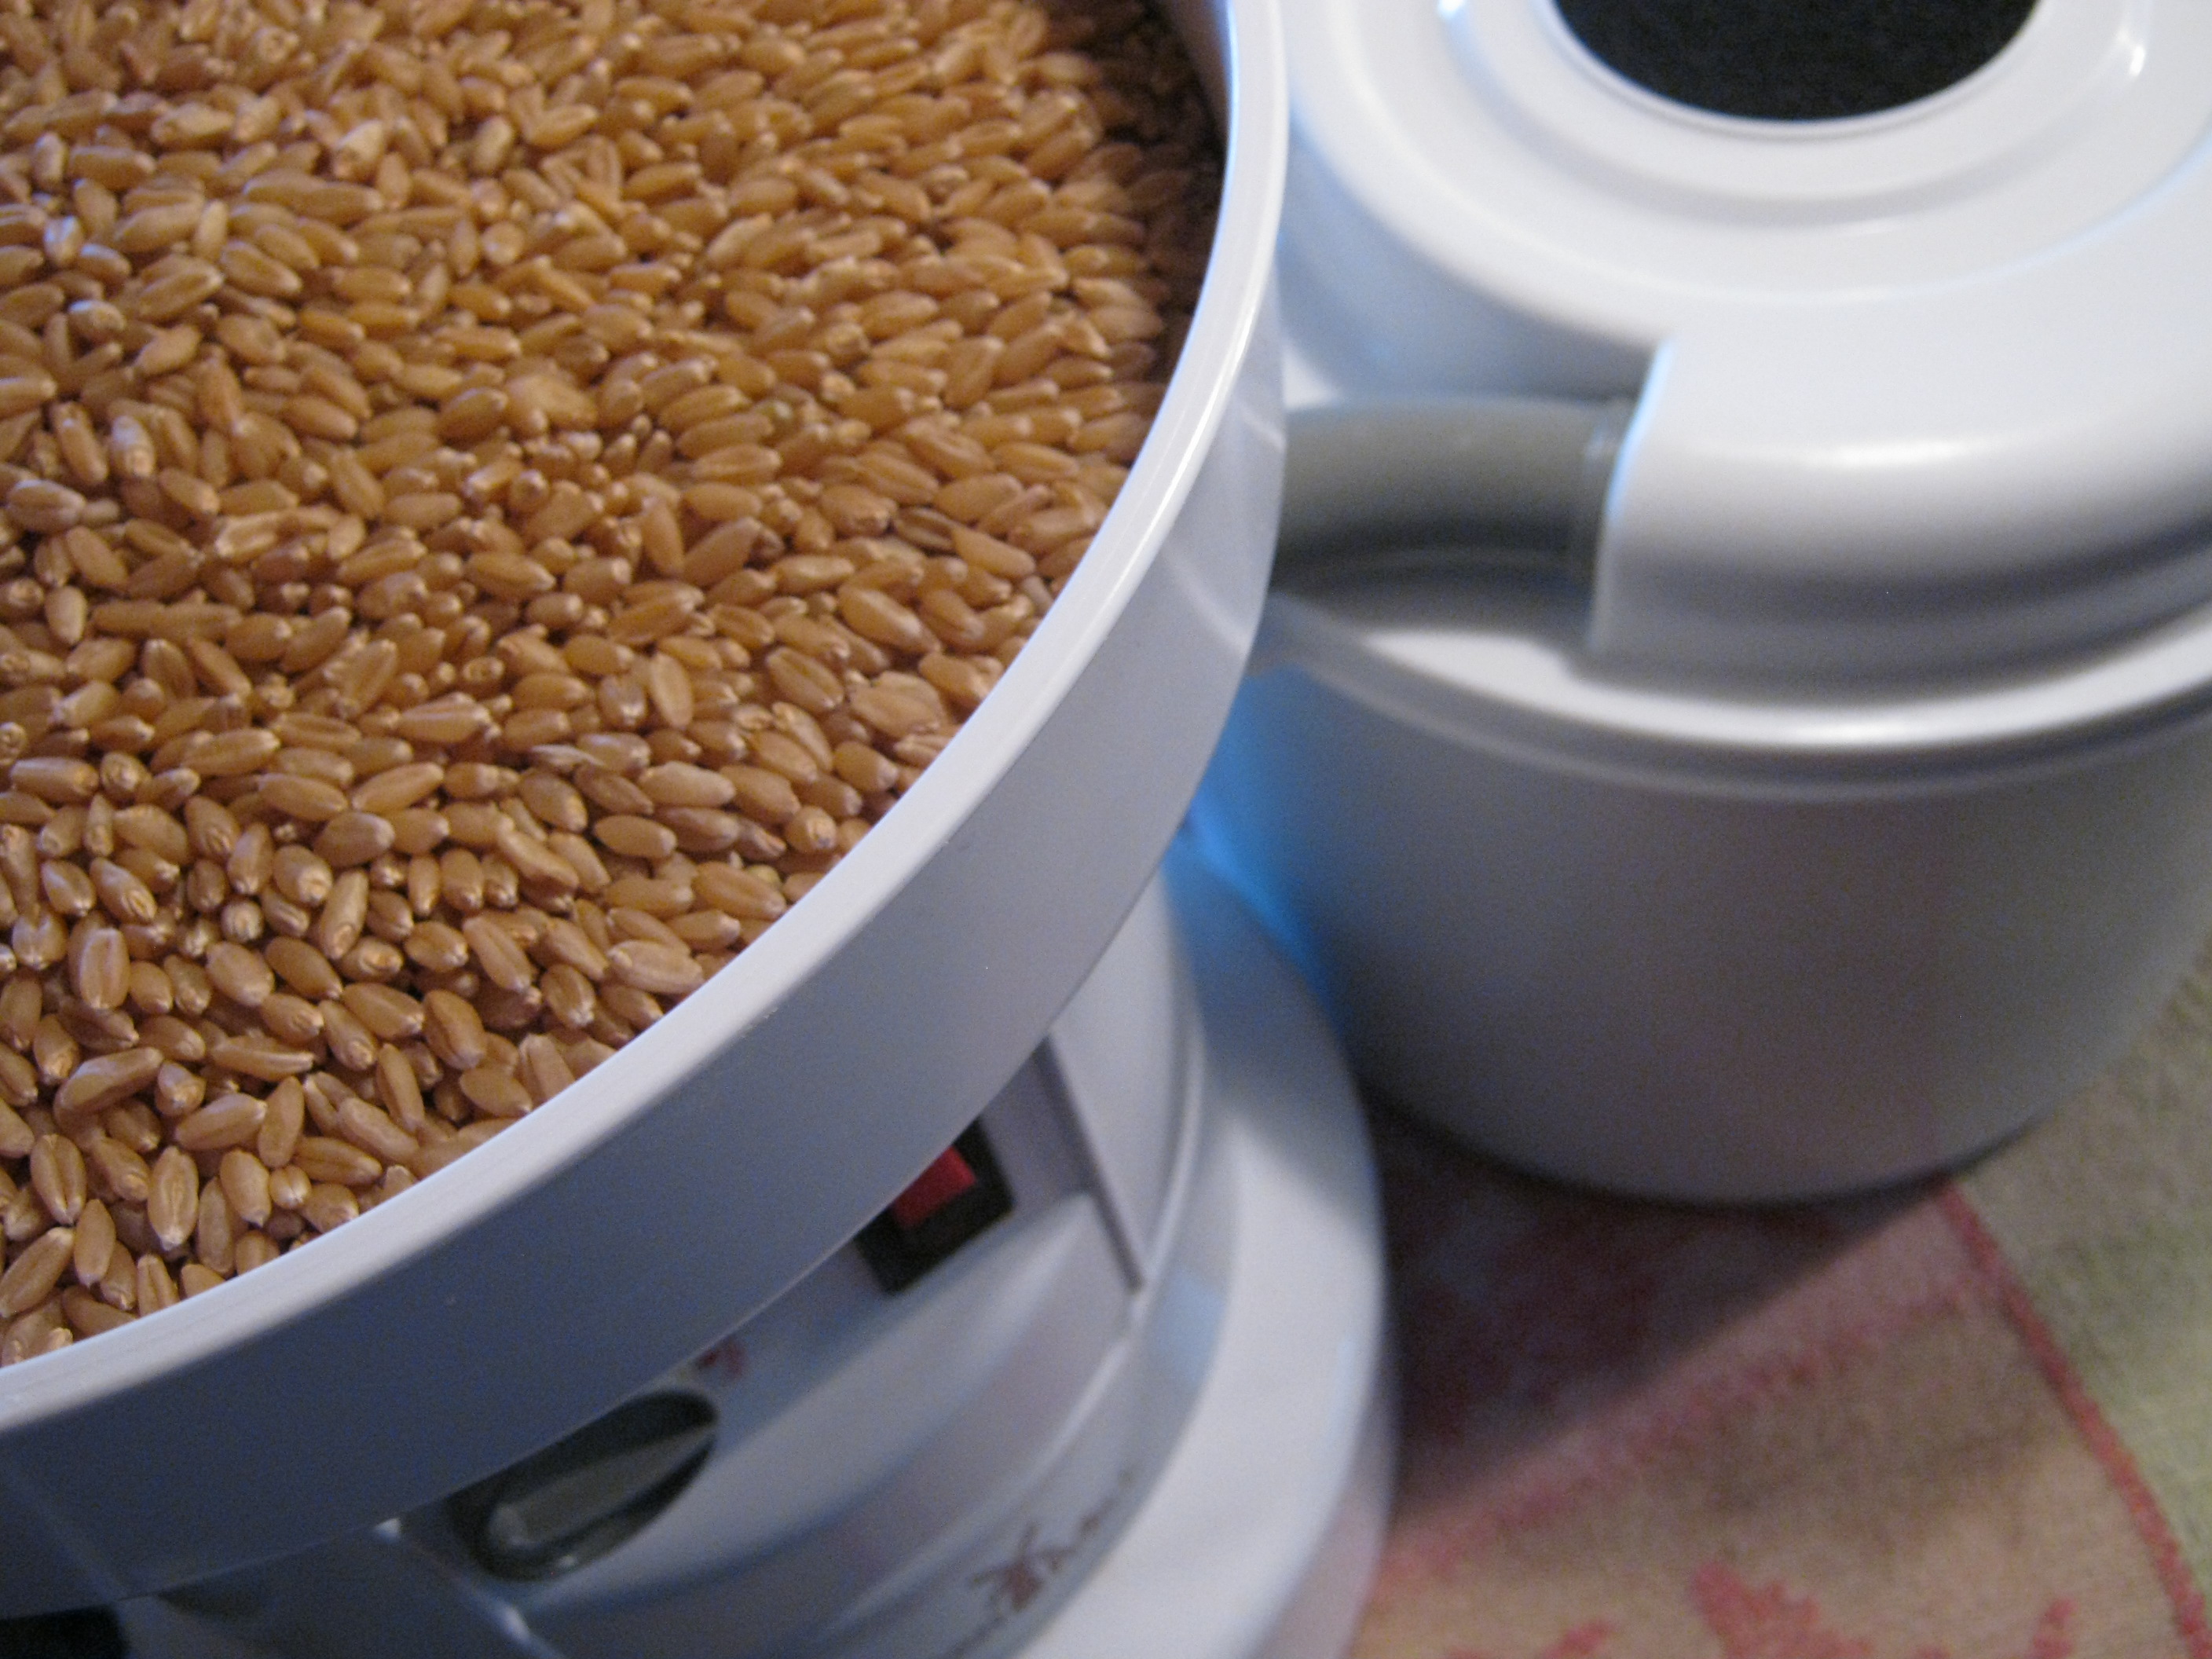
After milling your flour (I use the Wondermill) gather all your ingredients to make sure you have enough of everything before you begin.
You may use a bread machine for this entire recipe by simply putting the ingredients into the pan in the order listed. Turn on to dough setting. Then when finished remove and shape as below.
For the sake of how I made these (gotta match the pictures) and for those who love the ‘by hand’ method….here are more instructions:
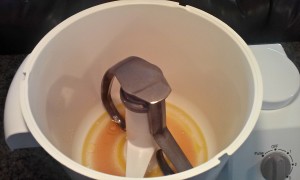
1) Combine the first three (3) ingredients into a bowl or in my case, I’m using the WonderMix.
2) Stir until well combined. Now add the 1 1/2 tsp of Instant Yeast. (be sure the water is lower than 115 degrees to avoid killing the yeast). There is no need to ‘proof’ this because it’s instant yeast so let’s move on.
4) Stir in all the shredded Zucchini
5) Now turn on machine (or by hand) stir in one cup of flour at a time…
6) After at least the first cup of flour (but don’t wait until after all the flour) add the Sea Salt, Garlic Powder, Dried Herbs and one (1) tsp of the Sesame Seeds.
7) Finish adding flour until ready to knead.
8) Knead by hand or by WonderMix. for a minimum of 10 minutes or until gluten has formed to make the dough very springy when poked.
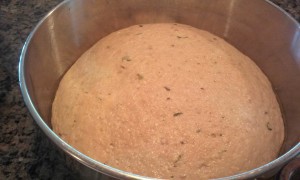 9) When finished place in a bowl and a warm (80 degree) location and allow to rise until doubled.
10) After rising until doubled (approximately 30 minutes at that warm temp) knock out all large bubbles and begin to shape into oblong rolls. Pinching the under belly of the roll to keep the ugly side (and seems) down onto the pan.
11) Arrange them side by side, almost touching, in a low metal pan that has been sprayed or greased.
12) Brush with an egg wash (Vegan option use Aquafaba or Flax seed gel) and sprinkle with remaining Sesame seeds and other optional herbs (I added some dried chives).
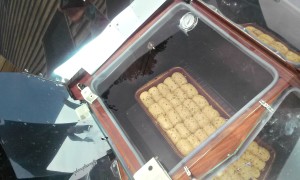 13) Allow to rise until all sides touch.
14) Par bake in a low 250 degree oven for 30 minutes. Our house was hot so I par baked mine in the All American Sun Oven.
15) Remove to cool completely on a wire wrack. Then bag and freeze for warming in the future!
The reason we bake these low and then freeze them is because the recipe makes so many. This allows us to break off what we need and lightly toast/reheat them in the oven just as dinner is finishing. Like the ‘brown and serve’ dinner rolls that are made of junk you can get ready made at the store.
These are better, and can be used the same exact way!
I hope you’ll give this a try! If you do or you make any variations to this recipe, I’d love to hear how it all turns out! Please leave a comment below…
Until next time…
Best Blessings!
 I am often asked the questions: “What’s the best mill for me?” and “How do I store grains?” These are great questions and the answers differ depending upon your needs and your storage space. I have a two free things to share with you to help you answer those questions.
First – as much as I wish I could come to every town, visit each home and spend time teaching all over the place – until time travel or teleportation is invented – there are only so many hours in a day and miles one can make to do what I’d love. So, in light of that – I’d like to invite you to sign up by clicking here for ->THESE FREE ONLINE SEMINARS.<- You may or may not be interested in all of the ones offered – but I hope you’ll come to the ones that do interest you and – especially the one I’m hosting on July 17th (Thursday at 9PM Eastern)on the topic of Home-milling & Grain/Dry Goods Bulk Storage.
Here’s what you’ll learn:
- Why store whole grains vs. flours or meal?
- Why would I mill now…doesn’t it take a long time?
- What’s the best mill for my needs?
- Three top rules for grain & dry goods storage.
- Mylar, Gamma, CO2 Packs, oh my! Let’s make it easier.
It’ll be FUN! Like we’re in a class together. I’ll be there LIVE and able to take your questions at the end and help you personally. But you’ll need to -> sign up for the whole thing early enough <- so you can get in on that date.
Second – in order to help you with more detailed information to answer the questions: “What’s the best mill & how do I store grains?” I’d like to offer you this FREE Grain Mill Comparison Chart. If you’re a detailed person when it comes to making decisions and gathering information, this chart has it all in spades! Compare speeds, sound, quality and more with a quick glance across the lines. The grain mills on the chart range from manual to electric and ones that can be both! So no matter which ones may interest you – you can make comparisons!
Don’t forget that we are always available to help you by email and phone too! So feel free to contact our office via email or call 828.536.4988 during business hours. Mon – Thurs 9:00-5:00, Fri 9:00-4:00 Eastern Time (Closed Sat & Sun)
We would be honored to help in any way possible. Plus, we may have some savings for you too when you contact us!
 “Light bulb” moments and “happy accidents” are my favorite things. (: Let me share one with you… and it comes in the form of a recipe.
One night I made double my regular Whole Wheat Pizza Crust as if I were feeding the whole army of Millers (don’t know what got into me, I guess I was waxing nostalgic thinking I had little kids at home…but I digress)… then I realized that only two of us were going to eat that night and we had a road trip the next day!
Typically I would make the extra pizza crust and freeze it (in a turkey basting bag – because they’re huge)…but this time I thought I should make some snacks for the road from the crust. And boy did these Whole Wheat Bread-sticks with a Twist hit the spot! Portable and filling!
So I share this happy accident with you!
Hope you enJOY, get creative and keep playing with your food!
Best Blessings,
Donna Miller of Millers Grain House
_____________________________
After making the pizza crust. Roll out dough in a rectangular(ish) shape and begin the creative process. To avoid too ‘gooey’ of a bread stick you won’t want to use much sauce or liquid toppings, but as the example below shows we made one half has Parmesan, mozzarella, peperoni and oregano. The other half has pesto, olives, feta and some dried onion flakes. 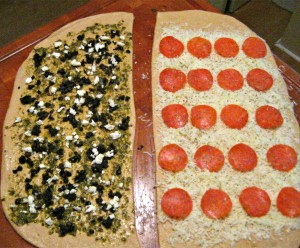
Then we used the pizza cutter to cut into strips.
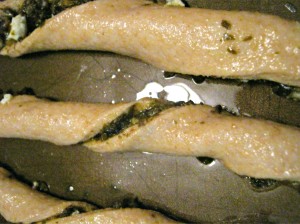
After we cut the strips (and made garlic knots out of the ends that were missed with the toppings), we folded the good stuff inside, lengthwise and then gave each bread-stick dough a little twist while putting it on the cookie sheet. See the pesto, olive bread- stick below:
Bake these Whole Wheat Bread-sticks with a Twist on cookie sheets at 350 degrees F. For about 15-18 minutes and cooled on a wire rack before bagging.
These are great served warm (of course we had to taste test them!) or once completely cooled can pack in a baggie for an easy take-along snack.
_____________________________
Please visit Millers Grain House for your kitchen needs.
When you create a new customer account, you receive a coupon code to save on your first purchase!
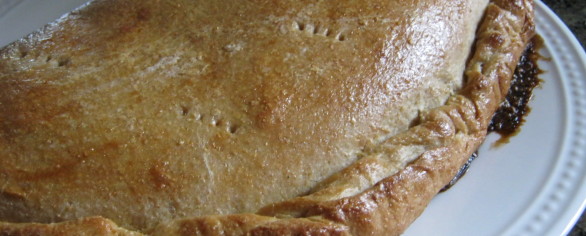
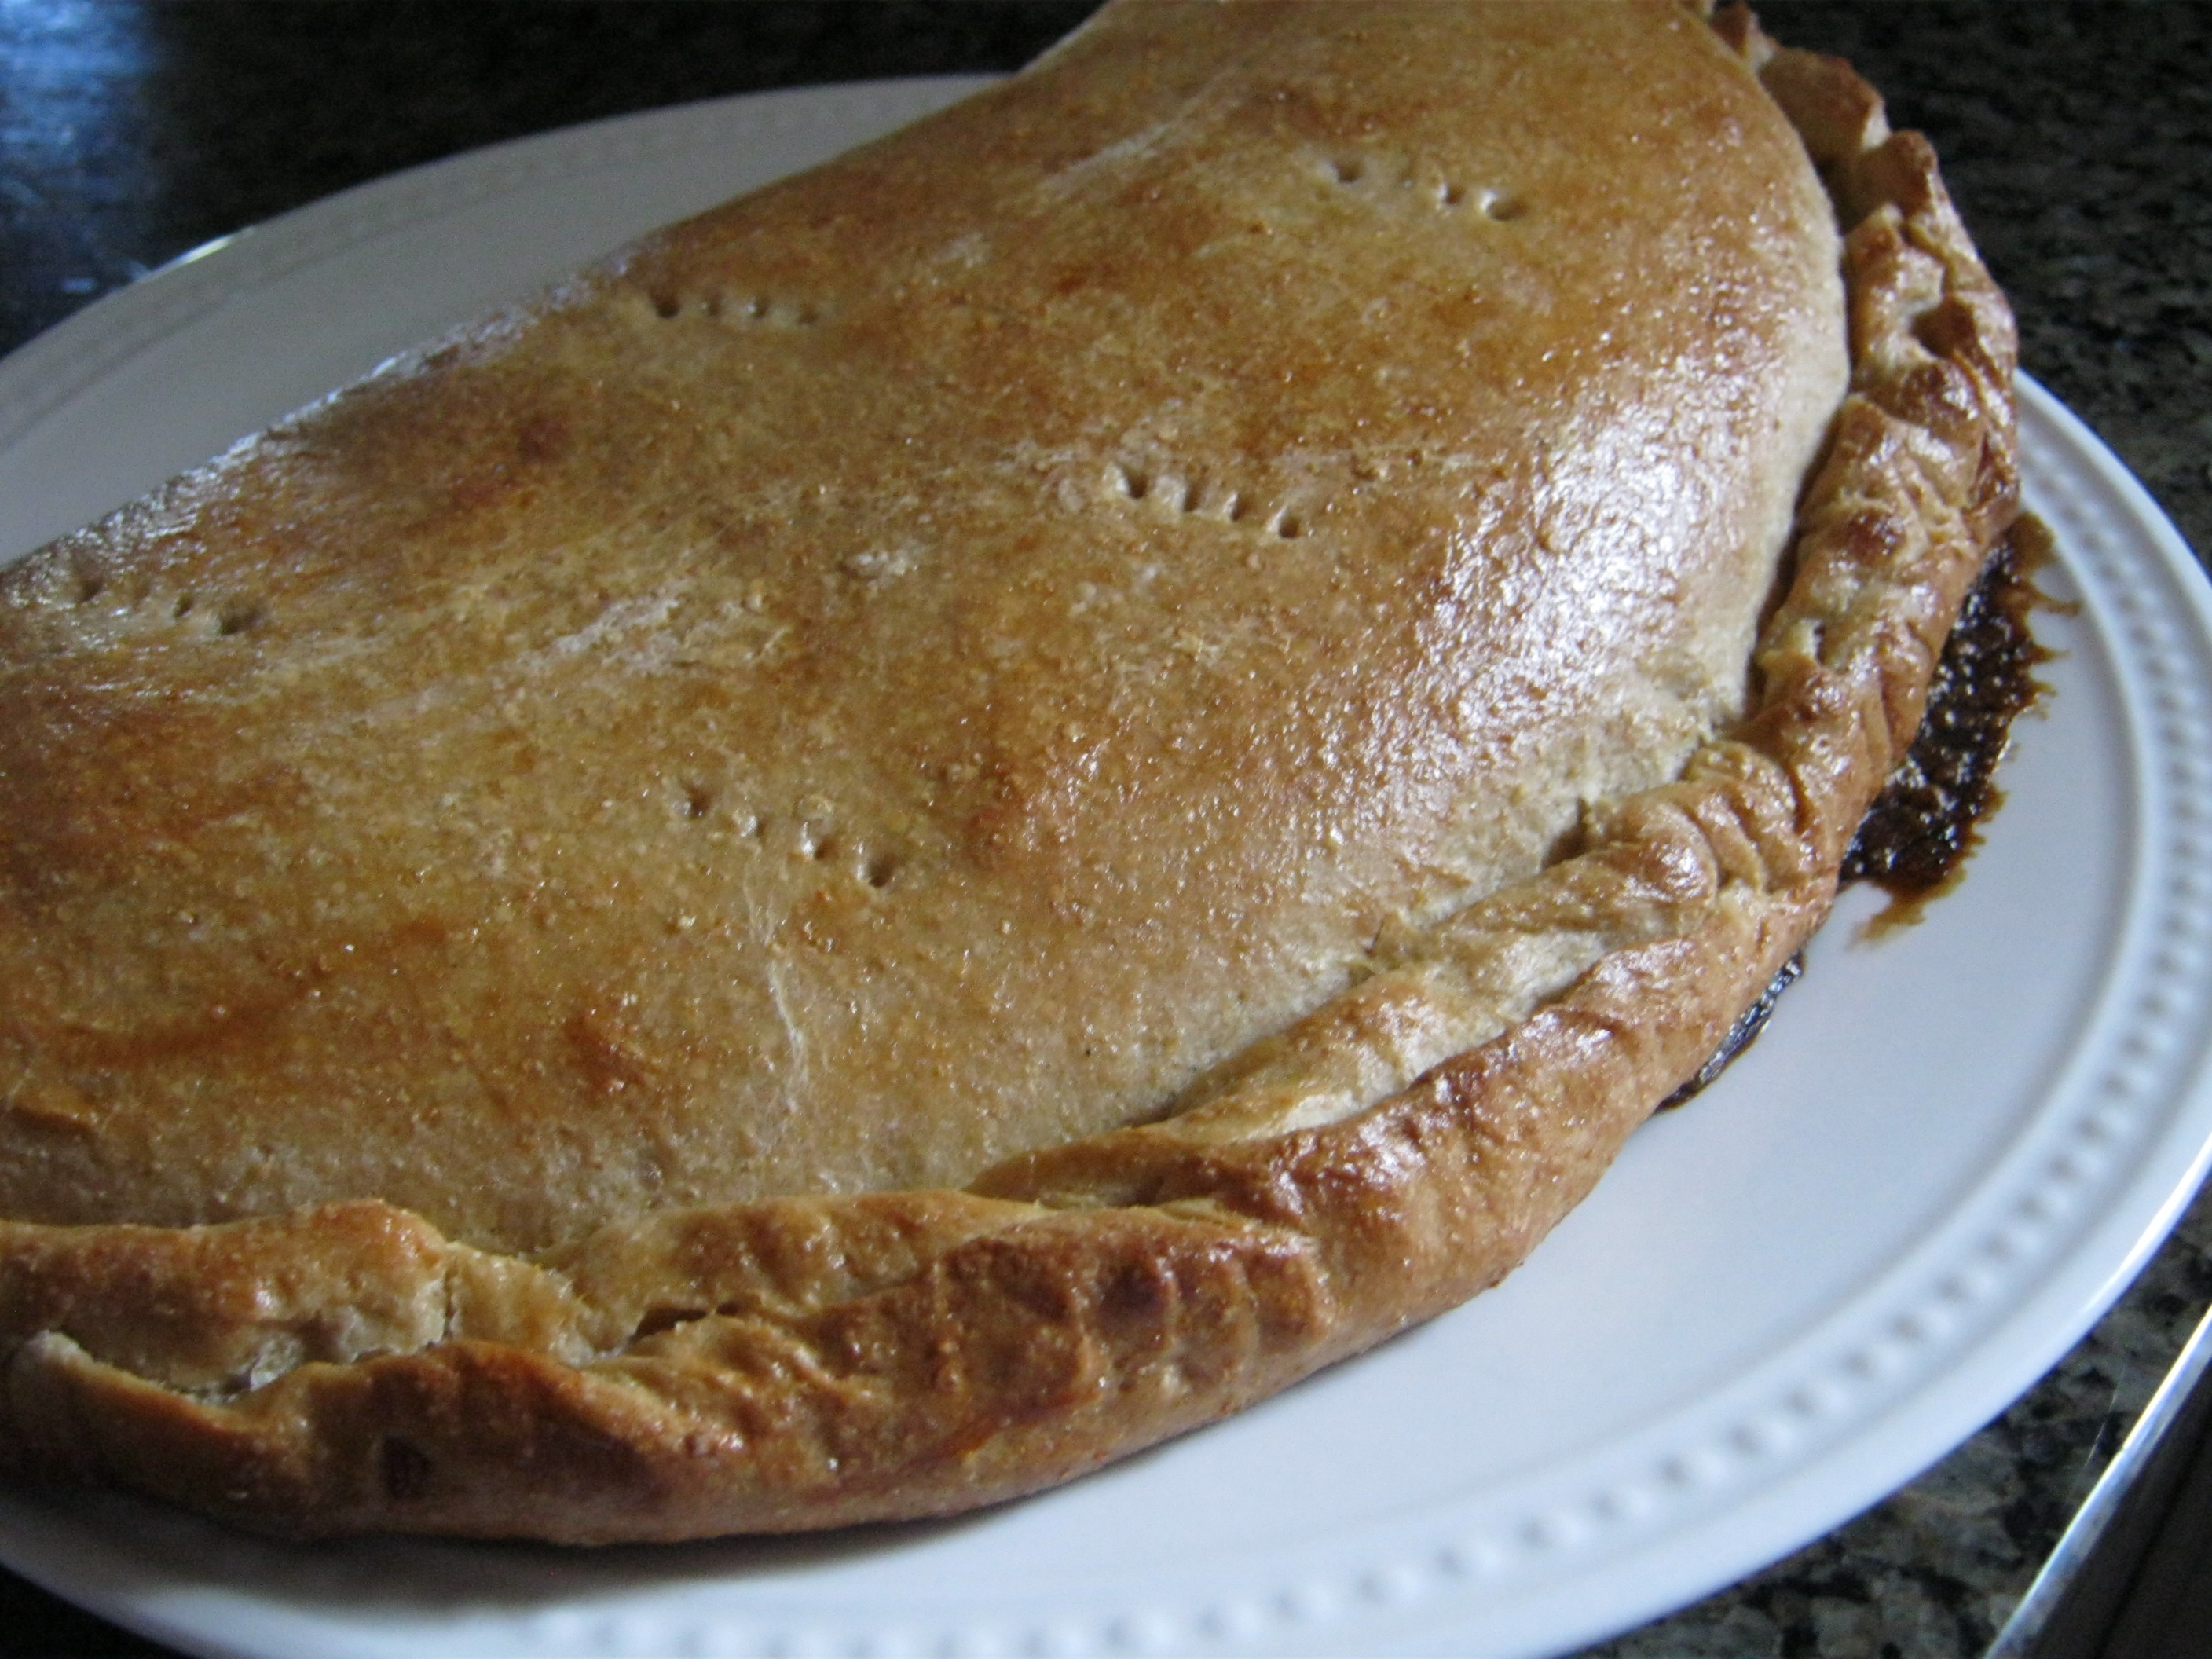
If you can make a pizza crust -you can easily use the crust to make a calzone to change up the typical pizza and still enjoy an easy whole grain Italian meal!
Whole Wheat Calzones
Whole Wheat Pizza Crusts
Makes two 16 inch pizza crusts
Ingredients:
- 1 ½ Cups Warm Water
- 4 TBS Organic Evaporated Cane Crystals
- 2 TBS Olive Oil
- 4 Cups Freshly Milled Hard Wheat Flour
- 1 tsp Garlic Salt
- ½ tsp Onion Salt
- 1 ½ tsp Instant Active Yeast
Bread Machine Method:
Place all ingredients in the machine in order given. Make a ‘well’ for the yeast and put in the ‘well’. Set to dough or pizza dough setting. Machine should punch down after first rise.
Food Processor Method:
Use ‘S’ Blade. Place all dry ingredients in the food processor. Turn to pulsing while drizzling in the oil. Stop when mixed in. Now turn on and leave on drizzling in the water until dough forms a ‘ball’. Let ‘ball’ clean the sides and round the bowl between 20-25 times.
Place in greased bowl, cover and put in a warm place (85 degrees) until doubled in size.
Mixer & Hand Methods:
Mix yeast in with the flour and set aside. Mix all other ingredients in a large bowl until blended. Mix one cup of flour mixture in at a time until all incorporated. Knead 3-5 minutes until 2 finger poke test bounces back quickly.
Place in greased bowl, cover and put in a warm place (85 degrees) until doubled in size.
Forming:
 Divide dough in to 2 (for large) or 4 (for small) balls of dough. Roll each out on to a floured surface and fill the center with a combination of cheeses: Ricotta, Mozzarella, Provolone and extra goodies such as mushrooms, peppers, pepperonis, cooked ground sausage (we like turkey sausage), onions (go light they get watery) and more. The possibilities are almost endless.
Fold one side over the other (stuffing in the middle will move) and turn up the edges and seal with a fork. Prick a few holes in the top for steam to escape.
Place on a cookie sheet or pyrex dish and brush a light egg wash.
Baking:
Bake at 375F until golden brown. Remove to cool for just a little bit so no one gets burned cutting into the gooey goodies inside the tasty pockets!
For more fun ideas in the kitchen, subscribe to Millers Grain House YouTube Channel
Also, come join us on:
For more off the cuff ideas, coupon codes for discounts and impromptu recipes!
Best Blessings and enJOY the journey!
Donna
If you can make a pizza crust -you can easily use the crust to make a calzone and put a twist on an Italian meal!
Whole Wheat Pizza Crusts
Makes two 16 inch pizza crusts
Ingredients:
- 1 ½ Cups Warm Water
- 4 TBS Organic Evaporated Cane Crystals
- 2 TBS Olive Oil
- 4 Cups Freshly Milled Hard Wheat Flour
- 1 tsp Garlic Salt
- ½ tsp Onion Salt
- 1 ½ tsp Instant Active Yeast
Bread Machine Method:
Place all ingredients in the machine in order given. Make a ‘well’ for the yeast and put in the ‘well’. Set to dough or pizza dough setting. Machine should punch down after first rise.
Food Processor Method:
Use ‘S’ Blade. Place all dry ingredients in the food processor. Turn to pulsing while drizzling in the oil. Stop when mixed in. Now turn on and leave on drizzling in the water until dough forms a ‘ball’. Let ‘ball’ clean the sides and round the bowl between 20-25 times.
Place in greased bowl, cover and put in a warm place (85 degrees) until doubled in size.
Mixer & Hand Methods:
Mix yeast in with the flour and set aside. Mix all other ingredients in a large bowl until blended. Mix one cup of flour mixture in at a time until all incorporated. Knead 3-5 minutes until 2 finger poke test bounces back quickly.
Place in greased bowl, cover and put in a warm place (85 degrees) until doubled in size.
Forming:
Divide dough in to 2 (for large) or 4 (for small) balls of dough. Roll each out on to a floured surface and fill the center with a combination of cheeses: Ricotta, Mozzarella, Provolone and extra goodies such as mushrooms, peppers, pepperonis, cooked ground sausage (we like turkey sausage), onions (go light they get watery) and more. The possibilities are almost endless.
Fold one side over the other (stuffing in the middle will move) and turn up the edges and seal with a fork. Prick a few holes in the top for steam to escape.
Place on a cookie sheet or pyrex dish and brush a light egg wash.
Forming:
Bake at 375F until golden brown. Remove to cool for just a little bit so no one gets burned cutting into the gooey goodies inside the tasty pockets!
– See more at: http://bakingwholegrains.com/whole-wheat-calzones/#sthash.N6k2gbUA.dpuf
With the rise in so many people being diagnosed as “Gluten Intolerant” or having a “Gluten Sensitive” it’s no wonder that this naturally occurring protein has gotten an undeserved bad name. Unless the diagnosis is actually “Celiac’s Disease” – you may just be one of the numerous people who are affected by our highly processed flour and diet and may not actually suffer from a true intolerance or sensitivity to gluten. I truly believe, and can attest to it personally for myself, that it is not gluten that is the problem for most people. It is the processing of flour to make it so-called “shelf worthy” that is a big problem.
The truth is that gluten is present in many grains, mostly however, wheat is the most widely used and recognized. Gluten was not ever meant to be consumed without the benefits of the entire grain – which you cannot get in a bag of dead store bough flour…even ‘whole’ wheat flour. Mostly because it isn’t the whole wheat kernel…although it may be allowed to labeled that way.
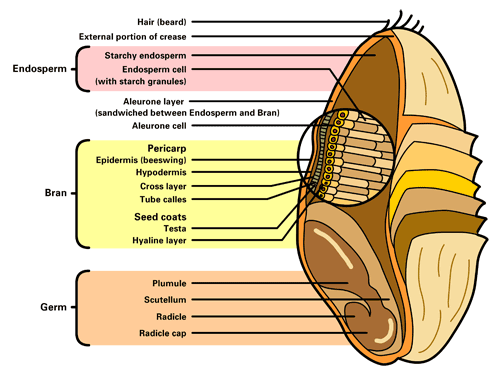 The wheat grain was created to work like all whole foods – with a synergistic relationship one part to another, with each part in tact. When a wheat grain is stripped down to make white flour all but the endosperm is discarded and we are left with the white flour that can hold together a paper mache’ creations – of course then gluten becomes an issue – where are the parts that help us to digest this ‘glue’? They are missing. Even in ‘whole wheat’ flour the wheat germ oil mostly is removed to prolong shelf life. Traces of it are left and the rancidity of the traces of oil is what cause the bitter taste in bagged ‘whole wheat’ flour. No wonder no one seems to think they can like whole wheat – they taste the rancid oil left in the bagged dead flour.
So there are two problems – just to name a a few that help to feed (no pun intended) this frenzy of gluten being a problem. It in fact is a fraction of a whole that was meant to work together in our digestive system.
Now let us just take a quick look at what is missing nutritionally when we consume only the white dead bagged flour.
It’s called ‘enriched’ flour for a reason. It has been ‘enriched’ with synthetic (yes, think – fake) vitamins and minerals to attempt to replace what has been removed when the other parts of the kernel have been omitted from your flour. 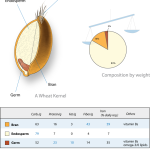
This small diagram to the right (if you click it – it enlarges) shows what is missing when only the white flour is consumed. The lack of vital nutrients in the wheat flour that we consume is creating gluten sensitivities and intolerance – not the gluten itself. Gluten itself may not be the problem.
The bran contains more protein than the endosperm, trace oils (good oils too – natural vitamin E ) a very high percentage of one’s daily allowance of fiber and iron. Not to mention the B vitamins vital for energy in our bodies.
The germ is the powerhouse for the kernel that helps it grown into a live plant – and our commercialized process strips it from us. Highest in protein, it also contains the vital oils with their vitamin E and lipids and omega oils that we seem content to pay extra for in supplements. Iron and B vitamins are also very high in the wheat germ.
We are a people who are satiated, yet extremely malnourished.
Below are some personal stories about my journey to discover the real problem for me and I suspect for many who may be under the assumption they have a gluten problem. Please listen and watch to gain more information than is not included in this post.
You can listen to my story below and see the path that I personally took to prove that gluten was not the problem for me:
New Family Internet Radio with Millers Grain House on BlogTalkRadio
This video was one of my first on our YouTube Channel.
80+ videos later it still is one of my favorites for educating people about the benefits of home-milling.
I hope you enjoy…
Oat groats are such extremely versatile little grains!
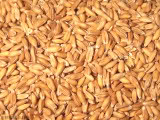
They can be milled by a grain mill (when still a whole grain) in to oat flour. Although not ideal for making use of in yeast breads as the single flour, the flour can be included as part of the required flour, yet oat flour can be utilized practically entirely as a substitute in various other baked goods not requiring yeast.
Oat Groats can likewise be utilized as Steel Cut Cereal (see picture at the right) and prepared as a thicker, chewier variation of oatmeal, included in a selection of warm dishes and baked/cooked goods.
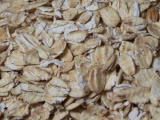
They can be rolled with a flaker turned into the old made rolled oats that the majority of individuals know them by. (pictured to the left)
Once rolled, they can then be chopped into finer pieces using the food processor utilizing the S-blade and turned into healthy Quick Oats! See this video – http://www.youtube.com/thewheatguy#p/u/31/CR6En56LNUU
From one extremely versatile grain, you could make so very many different food staples. Such a great space saver for long term food storage space and a healthy and balanced option to fast fix foods with that contain harmful additives.
For more tips to how much variety this one grain (oats) can give you – you may enjoy this short radio show “Getting Grain Specific: Sewing some (wild) oats” – Just fast forward to about minute 10:00 because there were terrible technical difficulties… but there is still some good info! (: *embarrassed smile*
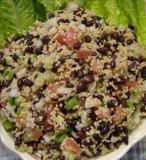
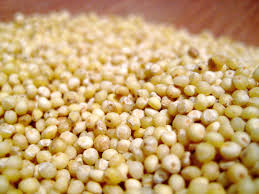 This Gluten Free: Easy Millet & Veggie Salad is a great summer treat.
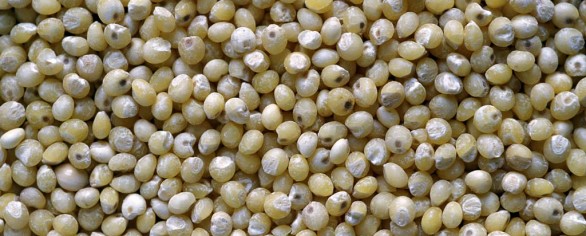
Commonly used in gluten free diets, I’ve found this grain is even more versatile when used whole rather than milled into flour. I like the simplicity of it and the texture. It rivals the texture of couscous (which is not a grain at all but a small durum wheat pasta) holding it’s form and shape well even after over cooking. It is an excellent option to replace rice and other whole grain side dishes.
For those warm summer nights and easy summer lunches, this recipe is both filling and cool to keep the kitchen from becoming a hot spot.
First be sure you are using food grade millet. Be sure it is fit for human consumption and not bird seed.
To cook basic, plain millet:
Rinse and drain 1 cup of millet. Set aside. In a medium saucepan, bring 2 1/2 cups water and the 1 cup millet to a boil. Cover, reduce heat to medium-low, and cook 15 minutes, much like rice until liquid absorbs. Remove from heat and let sit covered with a towel for 3-5 more minutes. This will be approximately 2.5 Cups in volume when done.
Once the millet is cooked and cooled, the opportunities for use are almost endless…
This easy recipe is my very favorite millet recipes used as a side, as a quick lunch or rolled in Nori as veggie sushi:
Millet and Veggie Salad
Ingredients:
1.5 Cups Cooked Organic Millet
1/4 Cup Cubed Cucumbers
1/4 Cup Diced Onions (red, scallions or white)
1/4 Cup Frozen Peas/Carrots
3 TBS Low fat Italian Dressing
Optional:
1/4 Cup cooked Organic Black Beans (pictured above – making this a complete meal with protein)
1/2 an Avocado Cubed*
1/4 Cup Cubed Tomato**
Mix all together in a large bowl or a container that can be covered and refrigerated for several hours. Overnight is best.
Serve chilled.
Lasts for almost a week in the fridge.
*Avocados added separately before serving, due to oxidation.
**Add Tomato separately upon serving due to easily spoiled.
Although often asked about my heritage – I do not have any Hispanic blood in my ancestry. Odd thing is, based on our favorite foods – you might think so. (:
So it is with this thought in mind I share one of my favorite versatile South of the Border foods. The tortilla! Of course I’m going to make it whole grain and with healthy oils so we can enjoy them more often. I’ve also included with this recipe is a video I made to make it easier to follow along…and a bonus idea at the very bottom to make this an even more versatile recipe. I hope you enjoy!
FRESH MILLED WHOLE WHEAT FLOUR TORTILLAS
Makes 8-12 servings
Dry Grains you need to mill:
1.5 Cups Hard Wheat (Red or White)
You may wish to use 3/4 hard and 3/4 soft wheat
‘Special’ Items Needed:
- Griddle, Large Sauce Pan or Electric Tortilla press
- Rolling pin (unless you have a Tortilla press)
- Plastic Wrap
List of Ingredients:
- 1 Cup Warm Water (you may not use it all)
- 1/4 Cup Olive Oil
- 1 tsp Salt
- 1/4 tsp Baking Powder
- 2.5 Cups Freshly Milled Flour
Using fork or wire whisk, combine all dry ingredients in a medium bowl. Then drizzle the oil over top whisking in to mix to make small crumbles.
Now, with a spoon/spatula, slowly mix in warm water by drizzling in from down the side of the bowl while mixing. Combine enough water until mixture is moister than a yeast bread but drier than a muffin mix. When it pulls from the side of the bowl while mixing it should be ready. Turn the slightly tacky/sticky dough out on to plastic wrap and seal. Place in fridge for 10 -30 minutes.
Remove the dough and divide it into even size dough balls. Slightly flatten to hockey puck shape. Starting from the fist one you shaped/handled….work your way through them in this order (odd yes, but the extra ‘sit’ time helps them form).
Use Tortilla press if you have it per manufacturer instructions.
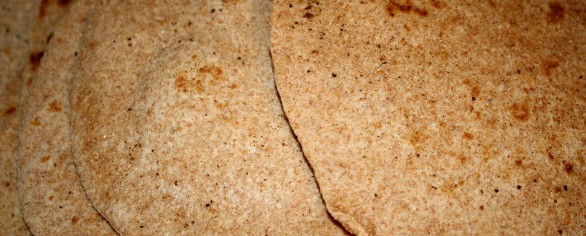
If you don’t have a press, then roll out each tortilla while griddle or sauce pan are pre-heating to med-low heat. When we roll these out we call them “American State Tortillas” – because some look like SC, or VA some are the shape of CA… but they all taste and wrap great anyway!
As each one is thin to your liking, flip onto a lightly greased griddle or sauce pan for a minute to two per side. You can get pretty good at this as you flip one roll another, remove and replace. You’ll have 8-12 of these done in no time.
Store in the refrigerator with a half of a paper towel between each in a zip lock bag for up to two weeks.
Bonus Recipe Idea:
Add a couple TBS of Organic Cane Juice Crystals and a dash or two of cinnamon to the dry mix. Sweet Tortillas to roll up fruits and cream cheese for a quick dessert or breakfast.
For more recipes, encouragement and tips – please Join Our Newsletter – we would love to keep in touch!
Best Blessings!
Donna Miller
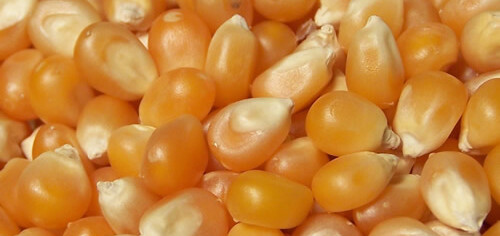
We usually just pop it in some organic coconut oil and toss on a little sea salt. But…popcorn is far more versatile and not just for the movies.
Popcorn has been used in Native American remedies for headaches. When using an air popper and keeping the butter low it also makes a great low calorie snack that is a very filling food.
I want to share a wholesome, sweet treat with this high fiber, low fat, very filling grain.
I did a video of this recipe a while back so I’m also including it here with the written recipe. PLUS some ideas, variety and an ‘out of the box’ idea that most people don’t think of with popcorn are listed below that I hope you’ll try and enjoy!
_____________________________________________________________________________________________________
Caramel Pop Corn
Makes – 6-8 servings
Ingredients:
- 1/2 Cup Coconut Oil (Canola or butter)
- 1/2 Cup Local Honey
- 1/4 Cup Maple Syrup
- 1/4 tsp salt
- 1/4 tsp vanilla
- 6-8 Cups Popped Popcorn
Instructions:
Preheat oven to 325
Make sure rack is centered in oven.
Combine first four (4) ingredients and heat slowly over a medium to medium-high heat until it comes to a low boil. (see in video)
Let boil for 1.5 min (1 minute 30 seconds) while stirring.
Remove from heat source and add vanilla and stir.
Move over to bowl of popped corn and pour slowly (careful it is HOT) to mix and coat all.
Grease a cookie sheet that has edges.
Pour coated popcorn out in a single layer on cookie sheet.
Bake on center rack for 10 minutes at 325 degrees (set that timer).
Remove from oven and stir/toss then TURN OFF OVEN and replace in oven for 5 minutes.
Let this completely cool to the touch (but not long enough to get stale or moist) then store it in a zip lock bag with some powdered milk to keep from sticking. (see the video)
~~~~~ VARIETY ~ THE SPICE OF LIFE ~~~~~
Go Nuts: Add about 1/2 Cup of your favorite nut to the popcorn before it’s coated. No need to change the baking, just keep an eye on the roasting of the nuts. And Tah-dah…you’ve made your own home-made ‘cracker jack’.
Mix-in Options: After it’s cooled, mix in any ‘trail mix’ type goodies such as M&Ms, coconut, dried fruits, or chocolate chips.
Have a ball: Make popcorn balls while the baked popcorn is still a little warm. Grease your hands and form into balls to cool on wax paper or aluminum foil.
Added variety: Put a candy kiss in the center of the ball before it cools….yummy surprise.
~~~~~ AN “OUT OF THE BOX” IDEA ~~~~~
I for one was addicted to the cereal “POPS” up until the early 90’s. I’m not sure if they are still called that – but the sweet, big, corn popped yellow PUFF? Well, I was so enamored with them because of the child-hood taste attachment, that is, until I read the ingredients list. Oh it was a sad day for me to say the least. But, I have a fix!
Not too many people may think of this but, you can use this wholesome, basic ingredient Caramel Popcorn as a breakfast cereal. Just put it in the bowl, pour milk and enjoy. No additives, a great deal of fiber and all natural. EnJOY.
So…does this give you any ideas?
Do you have a great popcorn idea to share?
Maybe I’ll try yours out and do a YouTube Shout-Out to you on the Our Channel
If you’ve got something to share – please leave a reply. I’d love to hear from you!
_____________________________________________________________________________________________________
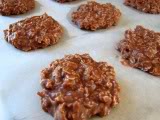
No-Bake Chocolate & Peanut Butter Oatmeal Cookies
Healthier ingredients for a very decadent dessert!
Makes approx. 24 – 1/4 C cookies
Ingredients:
- 1/4 C Organic Butter (salted)
- 1/4 C Organic Coconut Oil
(or use 1/2 C of Real Butter Made Real Healthy instead of the two ingredients above)
- 1/2 C + of Lowfat Milk
- 1/3 C Powdered Cocoa (can be half dark cocoa and half regular)
- 2 C Organic Evaporated Cane Crystals
- 2/3 C Home-made Peanut Butter
- 2 C Organic Quick Oats (remember how to ‘make’ them? Go Here)
- 1 C Organic WHOLE Rolled Oats
- 1 tsp Vanilla Extract
Set-up Instructions:
In a VERY large bowl put all the oats (both kinds) and the 2/3 C Home-made PB in a glob on top of the oats in the center and set aside in an area where you can mix hot liquid in later.
Also now, cover two large cookie sheets with wax paper. REMEMBER, don’t buy it if you don’t have to -go see ‘The REAL prize in the Cereal Box’ video.
Combine sugar and cocoa in a bowl to keep the cocoa powder from clumping/not melting smoothly.
Instructions:
Over medium-high heat, melt butter and coconut oil (or Healthy Butter) in a medium and deep sauce pan.
Add Milk while the other is melting.
When milk, butter and coconut are combined and melted add the cocoa/sugar mixture.
Stir until well combined.
If it seems thick like fudge, you can add up to 1/3 C more milk. You don’t want it really thick or too thin. It should be thinner than pancake batter consistency when it is this warm.
Stir as the mixture comes to a boil. Continue stirring while mixture boils for 1 minute.
Pour this hot liquid carefully over the peanut-butter-in-the-oats bowl.
Add in the 1 tsp of vanilla extract into a puddle of the chocolate before mixing.
Mix until all oats are covered with the sweet liquid. If you like a dry cookie add more oats.
Now – scoop out approximately 1/4 cup size balls and place on wax paper. Flatten to even discs so they will cool equally. Repeat until all batter is gone.
Place in freezer (since you can’t wait!) or refrigerator (if you have some patience) or leave on the counter to cool (oh sure, like THAT’S going to happen) – we ALWAYS go right to the freezer.
Once they are solid, pick up and enjoy
Store in the fridge in a baggie for as long as you can resist – or 2 weeks – whichever comes first.
Don’t feel too bad – there is a LOT of RAW fiber in that rich, yummy cookie. (o:

